



How to Get Rid of Acne Scars Naturally: Science-Backed Routine
A clear, no-nonsense guide to fading acne scars and post-blemish marks naturally, with the exact ingredients and routine order that make a real difference.
Author
askINKEY skincare advisor
Published
07 July, 2026
Time to read
15 minutes
If you’re reading this, chances are the breakout itself is already gone. What’s left behind is the part nobody warns you about - the flat red mark, the stubborn brown patch, the shadow that lingers on your cheek long after the spot has healed. You’re not imagining it, and you’re not alone in wondering how to get rid of acne scars naturally, without lasers, without a dermatologist’s chair, and without spending a fortune trying product after product.
Here’s something worth clearing up before we go any further: “scars” and “marks” get used interchangeably all the time, but they are not the same thing. That distinction matters enormously, because it changes what you should realistically expect from any routine, natural or otherwise. This guide isn’t going to blur that line to sell you something. It’s going to explain it properly.
Let’s also be clear about what “naturally” means here. It doesn’t mean essential oils, lemon juice, or waiting it out and hoping for the best. In this context, “naturally” means at home, using topical ingredients with a genuine evidence base behind them, alongside consistent daily habits like SPF. No injections, no resurfacing treatments, no in-clinic procedures - just what you can do yourself, applied correctly and given enough time to work.
It’s also worth setting expectations honestly from the outset, because that’s the only way this guide will actually be useful to you. True textured scarring has limits to what any topical product can achieve. But post-blemish discolouration - the red or brown marks most people are actually dealing with - typically can fade significantly with the right active ingredients and enough patience. That’s not a disappointing caveat. For most people searching this exact question, it’s genuinely good news.
Everything in this article is built around a simple idea: clear guidance, proven ingredients, real results. Not hype, not miracle claims, just what the evidence actually supports and how to apply it to your own skin. Before we talk about any product, though, the first and most important step is understanding exactly what type of mark you’re dealing with, because that single distinction shapes every decision that follows.
Scar or Mark? Understanding What You’re Actually Treating
Most people land on this topic typing “acne scars” into a search bar, but what they’re usually describing isn’t scarring at all - it’s a mark. The difference isn’t pedantic. It’s the single most useful thing you can learn before spending any money or time on a routine.
True acne scarring is textured. It changes the physical structure of the skin, leaving behind icepick scars (narrow, deep indentations), boxcar scars (broader depressions with defined edges), or rolling scars (shallow, wave-like dips caused by tethering beneath the skin’s surface). These form when the deeper layers of skin are damaged during a severe or prolonged breakout, and the skin heals with less collagen than it started with. If you want to understand exactly which category you’re dealing with, this breakdown of acne scar types is a genuinely useful place to start.
Flat discolouration is a different story entirely, and it’s what the vast majority of people are actually trying to treat. There are two main types worth knowing by name:
- Post-inflammatory hyperpigmentation (PIH) - flat brown or dark marks caused by excess melanin production in response to inflammation. More common and more visible on deeper skin tones.
- Post-inflammatory erythema (PIE) - flat red or pink marks caused by damaged or dilated capillaries near the skin’s surface. More common and more visible on fairer skin tones.
Here’s the honest part, and it’s the part that separates a trustworthy guide from an overpromising one: topical, at-home ingredients can meaningfully fade both PIH and PIE. They cannot fill in true textured scarring. That kind of structural change typically requires in-clinic intervention, which sits outside the scope of this guide entirely. If you’re unsure which camp your marks fall into, this honest look at whether acne scars are permanent walks through what can and can’t realistically be reversed, without sugarcoating it.
This is also where it’s worth flagging that if brown marks are your main concern, there’s an entire piece dedicated to treating post-inflammatory hyperpigmentation in far more depth than we can cover here. For a broader look at hyperpigmentation generally, the hyperpigmentation page covers the full ingredient and routine landscape, and the dark spots page is useful if your marks aren’t exclusively blemish-related. For the full topic cluster this article sits within, the acne scars hub pulls everything together in one place.
Why does any of this matter so much? Because the ingredients that calm redness aren’t necessarily the ones that fade pigment, and using the wrong tool for the job is the single biggest reason people feel like “nothing is working” after weeks of effort. Identifying your mark type isn’t a box-ticking exercise before the “real” advice starts. It is the real advice. Everything that follows in this guide only works if it’s pointed at the right target.
Once you know what you’re actually looking at in the mirror, the next sensible question is why it happened in the first place, because understanding the mechanism behind marks is what makes the ingredient choices later in this guide feel logical rather than arbitrary.
What Causes Acne Scars and Marks in the First Place
Marks don’t appear by accident, and they’re not a sign that your skin has failed you. They’re the result of a fairly predictable biological process, and understanding it takes a lot of the anxiety out of the situation.
When a blemish forms, the skin experiences localised inflammation and, in more severe cases, physical trauma to the surrounding tissue. The body responds to that inflammation in one of two broad ways. In some cases, inflammation triggers melanocytes - the cells responsible for pigment - to overproduce melanin in the affected area, which is what creates a brown or dark mark once the blemish itself has healed. In other cases, the inflammation damages or dilates the small capillaries near the skin’s surface, which shows up as a red or pink mark that can look alarming but is, in effect, a temporary vascular response rather than permanent damage.
A few behaviours reliably make marks worse, and most of them are habits rather than inevitabilities:
- Picking or squeezing a blemish, which increases trauma to the surrounding tissue and significantly raises the odds of a lasting mark.
- Over-exfoliating skin that’s still healing, which irritates already-inflamed tissue and can prolong redness rather than resolve it.
- Skipping SPF, which allows UV exposure to darken existing pigment and stimulate further pigment production in areas that are already vulnerable.
Skin tone also plays a genuine role in which type of mark you’re more likely to see. Deeper skin tones tend to be more prone to post-inflammatory hyperpigmentation, because melanocytes in more richly pigmented skin respond more readily to inflammatory triggers. Fairer skin tones tend to show post-inflammatory erythema more readily, since the capillary response is more visible against lighter skin. Neither pattern is fixed or universal, but it’s a useful general rule when trying to understand your own skin’s tendencies.
There’s a direct line between this and prevention, too. The earlier and more gently a blemish is treated, the less inflammation it generates, and the less inflammation it generates, the lower the chance of a lasting mark forming in the first place. This is why calming an active breakout matters just as much as treating the mark it eventually leaves behind. For a fuller breakdown of this entire process, this guide to what causes acne scars and how to prevent them goes into more depth, and the acne pillar page is worth a read if you want to understand blemish-prone skin and breakouts more broadly before tackling the marks they leave behind. If your breakouts tend to be deeper or more severe, this explainer on cystic acne and this introduction to acne vulgaris are both useful starting points for understanding what you’re dealing with at the source.
None of this is meant to alarm you. Marks are a normal, explainable response to inflammation, not evidence that something has gone permanently wrong. But understanding the mechanism does matter, because it sets up the next and arguably most practical section of this guide: treating red marks and brown marks is not the same job, and conflating the two is where a lot of at-home routines quietly go wrong.
Red Marks vs Brown Marks: Why the Treatment Isn’t the Same
This is probably the single most common point of confusion once someone has accepted that “scar” isn’t really the right word for what they’re dealing with. If PIE and PIH are caused by different mechanisms, it stands to reason that they respond to different ingredients, and that’s exactly the case.
Red and pink marks (PIE) are a vascular issue. Because they’re caused by capillaries near the surface rather than pigment, they respond best to ingredients that calm inflammation, support the skin barrier, and gently brighten overall tone rather than targeting pigment production specifically. Skin that’s prone to PIE tends to be more reactive in general, so gentle, non-stripping formulas matter as much as the active ingredients themselves. If red marks are your primary concern, this dedicated guide to post-inflammatory erythema is worth reading in full.
Brown marks (PIH), on the other hand, are a pigment issue. They respond best to ingredients that interrupt the pathway by which pigment is transferred to the skin’s surface, combined with gentle exfoliation that helps shed pigmented surface cells more efficiently over time.
Two ingredients deserve particular attention here because they do double duty in different ways:
- Azelaic acid calms visible redness while also helping to even out tone, which makes it genuinely useful whether your marks lean red or brown. This piece on whether azelaic acid helps with acne scars explains the evidence behind both of those effects, and the azelaic acid pillar page covers the ingredient in full if you want to understand exactly how it works before adding it in.
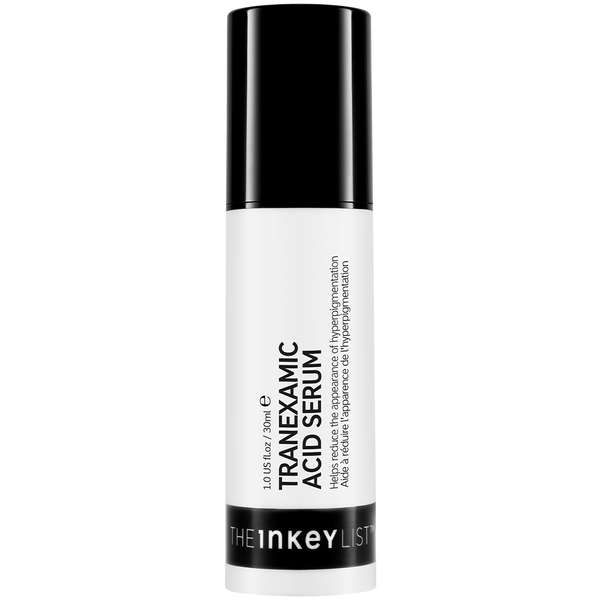
- Tranexamic acid works more specifically on the pigment side, directly interrupting the signalling pathway that triggers excess melanin production. It’s one of the more targeted options for brown marks specifically. This guide combining vitamin C and tranexamic acid for dark spots shows how the two can work together, and the tranexamic acid pillar page is the place to go for the full ingredient profile.
Niacinamide sits in its own category as the all-rounder. It isn’t the fastest or most targeted option for either mark type specifically, but because it supports barrier function and helps reduce the appearance of uneven tone more generally, it earns a permanent place in a routine addressing either red or brown marks. This breakdown of what niacinamide can and can’t do for acne scars is refreshingly honest about where its strengths actually lie, and the niacinamide pillar page covers the ingredient’s full benefit profile.
Consistency fades marks faster than any single ingredient ever will.
It’s also worth saying plainly: most people don’t have a clean, single-colour situation. A mix of red and brown marks across the same breakout-prone area is extremely common, and the good news is that a well-built routine doesn’t need two entirely separate product lines to address both. The ingredients above can be layered sensibly into a single routine, which is exactly what the next section walks through step by step.
Knowing which ingredient does what is useful in theory, but theory doesn’t fade a mark on its own. The next step is turning all of this into an actual, ordered, at-home routine you can follow starting tonight.
The Science-Backed AM/PM Routine for Fading Acne Scars Naturally
This is the part of the guide built to directly answer the question that brought you here: how to get rid of acne scars naturally, using a routine that’s realistic to maintain rather than an overwhelming list of ten different products applied all at once.
The guiding principle throughout is gradual, deliberate layering. Introduce one active ingredient at a time, give your skin a week or two to adjust, and only then consider adding the next step. Routines that work are rarely the ones with the most products in them - they’re the ones that are followed consistently, without irritation forcing a pause every few weeks.
A Simple Morning Routine
- Cleanse gently. If your skin is currently blemish-prone and dealing with active breakouts alongside existing marks, the Salicylic Acid Cleanser (£14) is a sensible first step. It’s formulated to support clearer-looking skin without over-stripping, which matters because healing skin that’s stripped of its natural barrier takes longer to recover, not less.
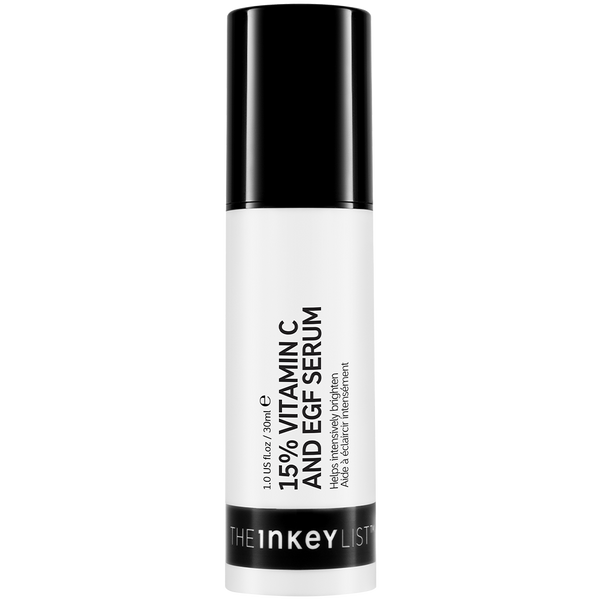
- Treat. This is where 15% Vitamin C + EGF Serum (£16) comes in, offering brightening support alongside antioxidant protection against environmental stress throughout the day. The vitamin C pillar page is worth reading if you want to understand exactly how this ingredient supports tone over time.
- Hydrate. A lightweight moisturiser locks in the previous steps and supports the skin barrier, which is especially important on skin that’s actively healing from recent breakouts.
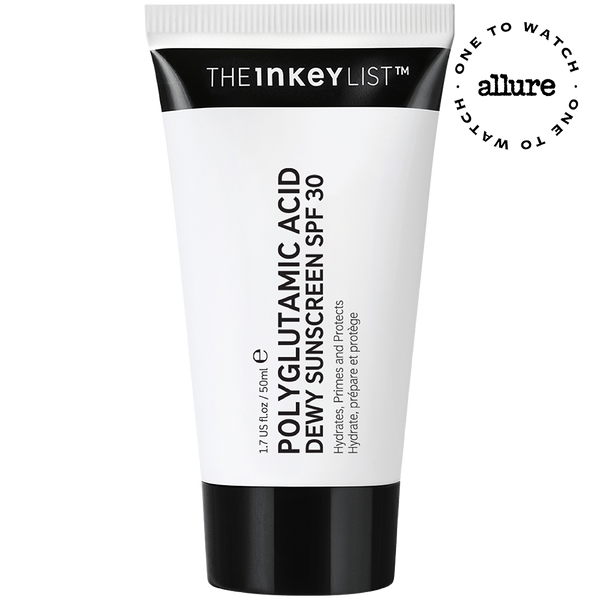
- Protect, always. Close every single morning routine with SPF. This is not an optional finishing touch - it’s arguably the most important step in this entire guide. The Dewy Sunscreen SPF 30 is the non-negotiable final step, because unprotected marks take significantly longer to fade and can darken further with UV exposure.
A Simple Evening Routine
- Cleanse gently, removing the day’s SPF, makeup, and environmental build-up without reaching for anything harsh or over-stripping.
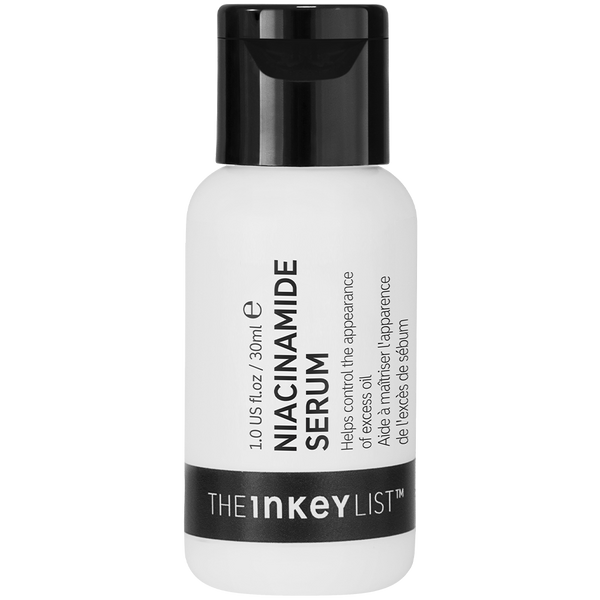
- Apply a targeted active, alternating depending on what your skin needs that night. This is where Niacinamide Serum (£12) works well as a daily all-rounder, while Tranexamic Acid Serum (£17) or 10% Azelaic Acid Serum(£16) can be introduced as targeted treatments depending on whether brown or red marks are your main concern, per the previous section.
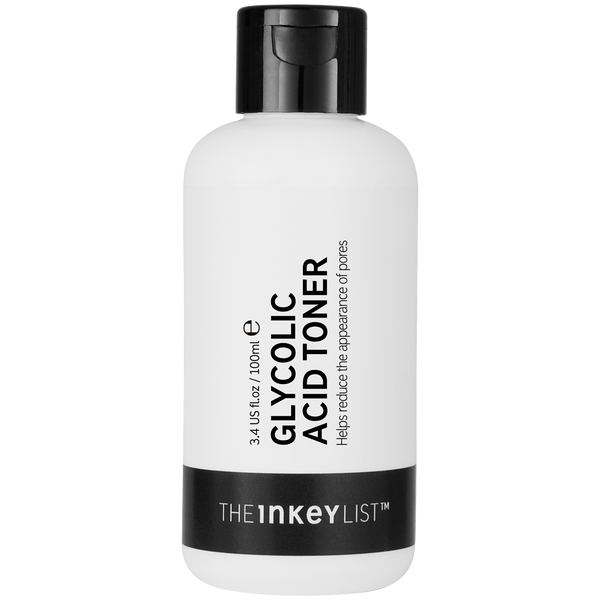
- Exfoliate a few times a week, not daily. The Glycolic Acid Toner (£14) supports healthy cell turnover, which helps surface pigment shed more efficiently over time. Used too frequently, though, it can irritate marks that are still healing, so two to three evenings a week is a sensible starting point rather than every night. The glycolic acidand salicylic acid pillar pages cover both exfoliating approaches in more detail if you want to understand how to choose between them.
- Moisturise to finish, supporting the barrier overnight while the skin does its repair work.
A note on combining actives: strong exfoliants and strong targeted treatments like tranexamic or azelaic acid are typically not used on the same night as each other when you’re first building a routine. Alternate them across different evenings instead of layering everything at once, which reduces the risk of irritation and gives each ingredient the chance to actually do its job.
For those ready to go a step further once their skin has adjusted to the basics, retinol is worth considering as a PM addition. It’s one of the more well-evidenced ingredients for supporting overall texture and tone over time, though it needs to be introduced slowly and only at night. This guide to retinol for scarring and post-acne marks explains exactly how to bring it into a routine like this one without overwhelming the skin, and the retinol pillar page covers the ingredient fully for anyone wanting to understand it before adding it in.
With a routine in hand, the obvious next question is the one almost everyone asks before they’ve even finished reading the steps above: how long is this actually going to take?
How Long Does It Really Take to Fade Acne Scars Naturally?
This is the question behind the question. Everyone wants to know how to get rid of acne scars naturally, but what they’re really asking is how soon they’ll see something change, because waiting without any sense of timeline is genuinely demoralising.
Here’s the honest answer: skin cell turnover naturally takes several weeks, which means visible change in the appearance of marks typically requires a minimum of four to eight weeks of consistent use. That’s not a disappointing figure, it’s a biological one. Skin simply doesn’t regenerate overnight, and no ingredient, however well-evidenced, can override that timeline entirely.
Red marks tend to respond somewhat faster than brown ones. Because PIE relates to capillaries near the surface, calming and barrier-supporting ingredients can show visible improvement a little sooner. Brown marks, caused by pigment that has to work its way through multiple layers of skin before shedding, generally take longer to fade. This look at how vitamin C performs specifically for acne scars covers realistic timeframes for brightening ingredients in more detail, and this piece on salicylic acid for acne scars does the same for exfoliation-driven approaches.
Two factors matter more than any single “hero” ingredient when it comes to actual speed of results:
- Consistency. Applying the right product sporadically, or only when you remember, slows progress far more than most people realise.
- Daily SPF use. Skipping sunscreen doesn’t just risk new marks forming, it actively undoes progress on existing ones by allowing UV exposure to re-darken pigment that was starting to fade.
There’s a less obvious trap worth naming directly: switching products too frequently. It’s tempting, especially in week three when nothing visible seems to be happening yet, to assume the product isn’t working and swap it for something new. In reality, this resets the clock rather than speeding anything up, because skin needs sustained exposure to an active ingredient to see its full effect, not a fresh start every few weeks.
The honest, final point here is one that deserves repeating rather than glossing over: significant fading is a realistic outcome for most post-blemish marks, but total disappearance of deeper, more established marks isn’t something topical care alone can guarantee. That’s not a failure of the routine, it’s a reflection of what topical ingredients can and can’t physically do.
Once you’ve accepted that this is a weeks-not-days process, the next logical step is making sure you’re not undoing your own progress by letting new marks form while the old ones are still fading.
Preventing New Marks While You Treat Existing Ones
Treating existing marks while new ones keep appearing can feel like running on a treadmill that never slows down. The good news is that prevention here isn’t complicated, and most of it comes down to a handful of consistent habits rather than an entirely separate routine.
The single biggest preventative step, by a wide margin, is simply not picking or squeezing blemishes. It’s easier said than done, particularly with a blemish that feels ready to go, but picking introduces additional trauma to the surrounding tissue, which is precisely the mechanism that creates lasting marks in the first place. Leaving a blemish alone to heal on its own timeline, uncomfortable as that can feel in the moment, genuinely reduces the odds of a mark forming at all.
Treating active blemishes early and gently, rather than reaching for the harshest product available the moment one appears, also matters more than it might seem. Aggressive treatment can increase surrounding inflammation rather than calm it, which paradoxically raises the likelihood of a mark being left behind once the blemish itself has cleared.
SPF deserves a second mention here, not as a repeat of the treatment routine but as a genuine prevention tool in its own right. UV exposure doesn’t just slow the fading of existing marks, it can actively trigger new pigmentation and darken marks that were already improving. Daily SPF, applied as the final step every single morning without exception, is one of the few habits in this entire guide that does double duty for both treatment and prevention at once. The SPF pillar page covers exactly why this step carries so much weight.
A gentle, non-stripping approach to cleansing also plays a quieter but important role. Skin that’s already healing from recent breakouts is more sensitive than usual, and compounding that with a harsh, foaming cleanser or an overly vigorous cleansing routine can prolong irritation rather than resolve it. For a fuller breakdown of causes and prevention together, this guide to what causes acne scars and how to prevent them is worth revisiting, and the acne pillar page remains a useful resource for understanding blemish-prone skin as a whole.
It’s worth briefly acknowledging that diet, stress, and hormones can all influence how frequently breakouts occur, and by extension, how many new marks have the chance to form. This isn’t the focus of this guide, and it’s genuinely a much bigger topic than can be done justice here, but it’s worth knowing that skin doesn’t exist in isolation from the rest of what’s going on in your body and routine more broadly.
None of this should feel like a list of things you did wrong in the past. Marks happen. The goal from here isn’t guilt, it’s simply reducing how many new ones you’re dealing with while the existing ones continue to fade in the background. With both treatment and prevention now covered, it’s worth pausing to answer the specific, recurring questions that tend to come up once someone has read this far.
Bringing It All Together: A Realistic Path Forward
If there’s one thing worth carrying away from this entire guide on how to get rid of acne scars naturally, it’s this: the process works, but it works on skin’s timeline, not yours. Identifying whether you’re dealing with red marks, brown marks, or a mix of both is the first real decision point, because it determines which ingredients deserve a place in your routine. From there, consistency with the right targeted actives, paired with daily SPF without exception, does more heavy lifting than any single “miracle” product ever could.
It’s also worth reiterating, because it’s easy to forget mid-routine, that results take weeks rather than days, and that switching products too often resets progress rather than accelerating it. Staying the course with a sensible, gradually layered routine will almost always outperform a constantly changing one.
Perhaps most importantly, effective skincare for fading post-blemish marks doesn’t need to be complicated or expensive to actually work. A handful of well-chosen ingredients, used correctly and consistently, is genuinely enough for most people dealing with dark marks from spots. If you want to explore the wider topic further, the acne scars hub brings together everything this guide has touched on in one place.
If you’re still not sure exactly which ingredients your skin needs, you don’t have to guess your way through it. Find your personalised routine and get a tailored set of recommendations based on your actual skin, rather than piecing one together on your own.
Frequently Asked Questions

Got a question?
Our askINKEY team are a friendly bunch of skincare experts with deep product knowledge and zero judgement. Whether you're an ingredient obsessive or just starting out, we'll make it make sense. No question too big. No question too small. We Give A Care, Every Day.


